How to activate the virtual authenticator
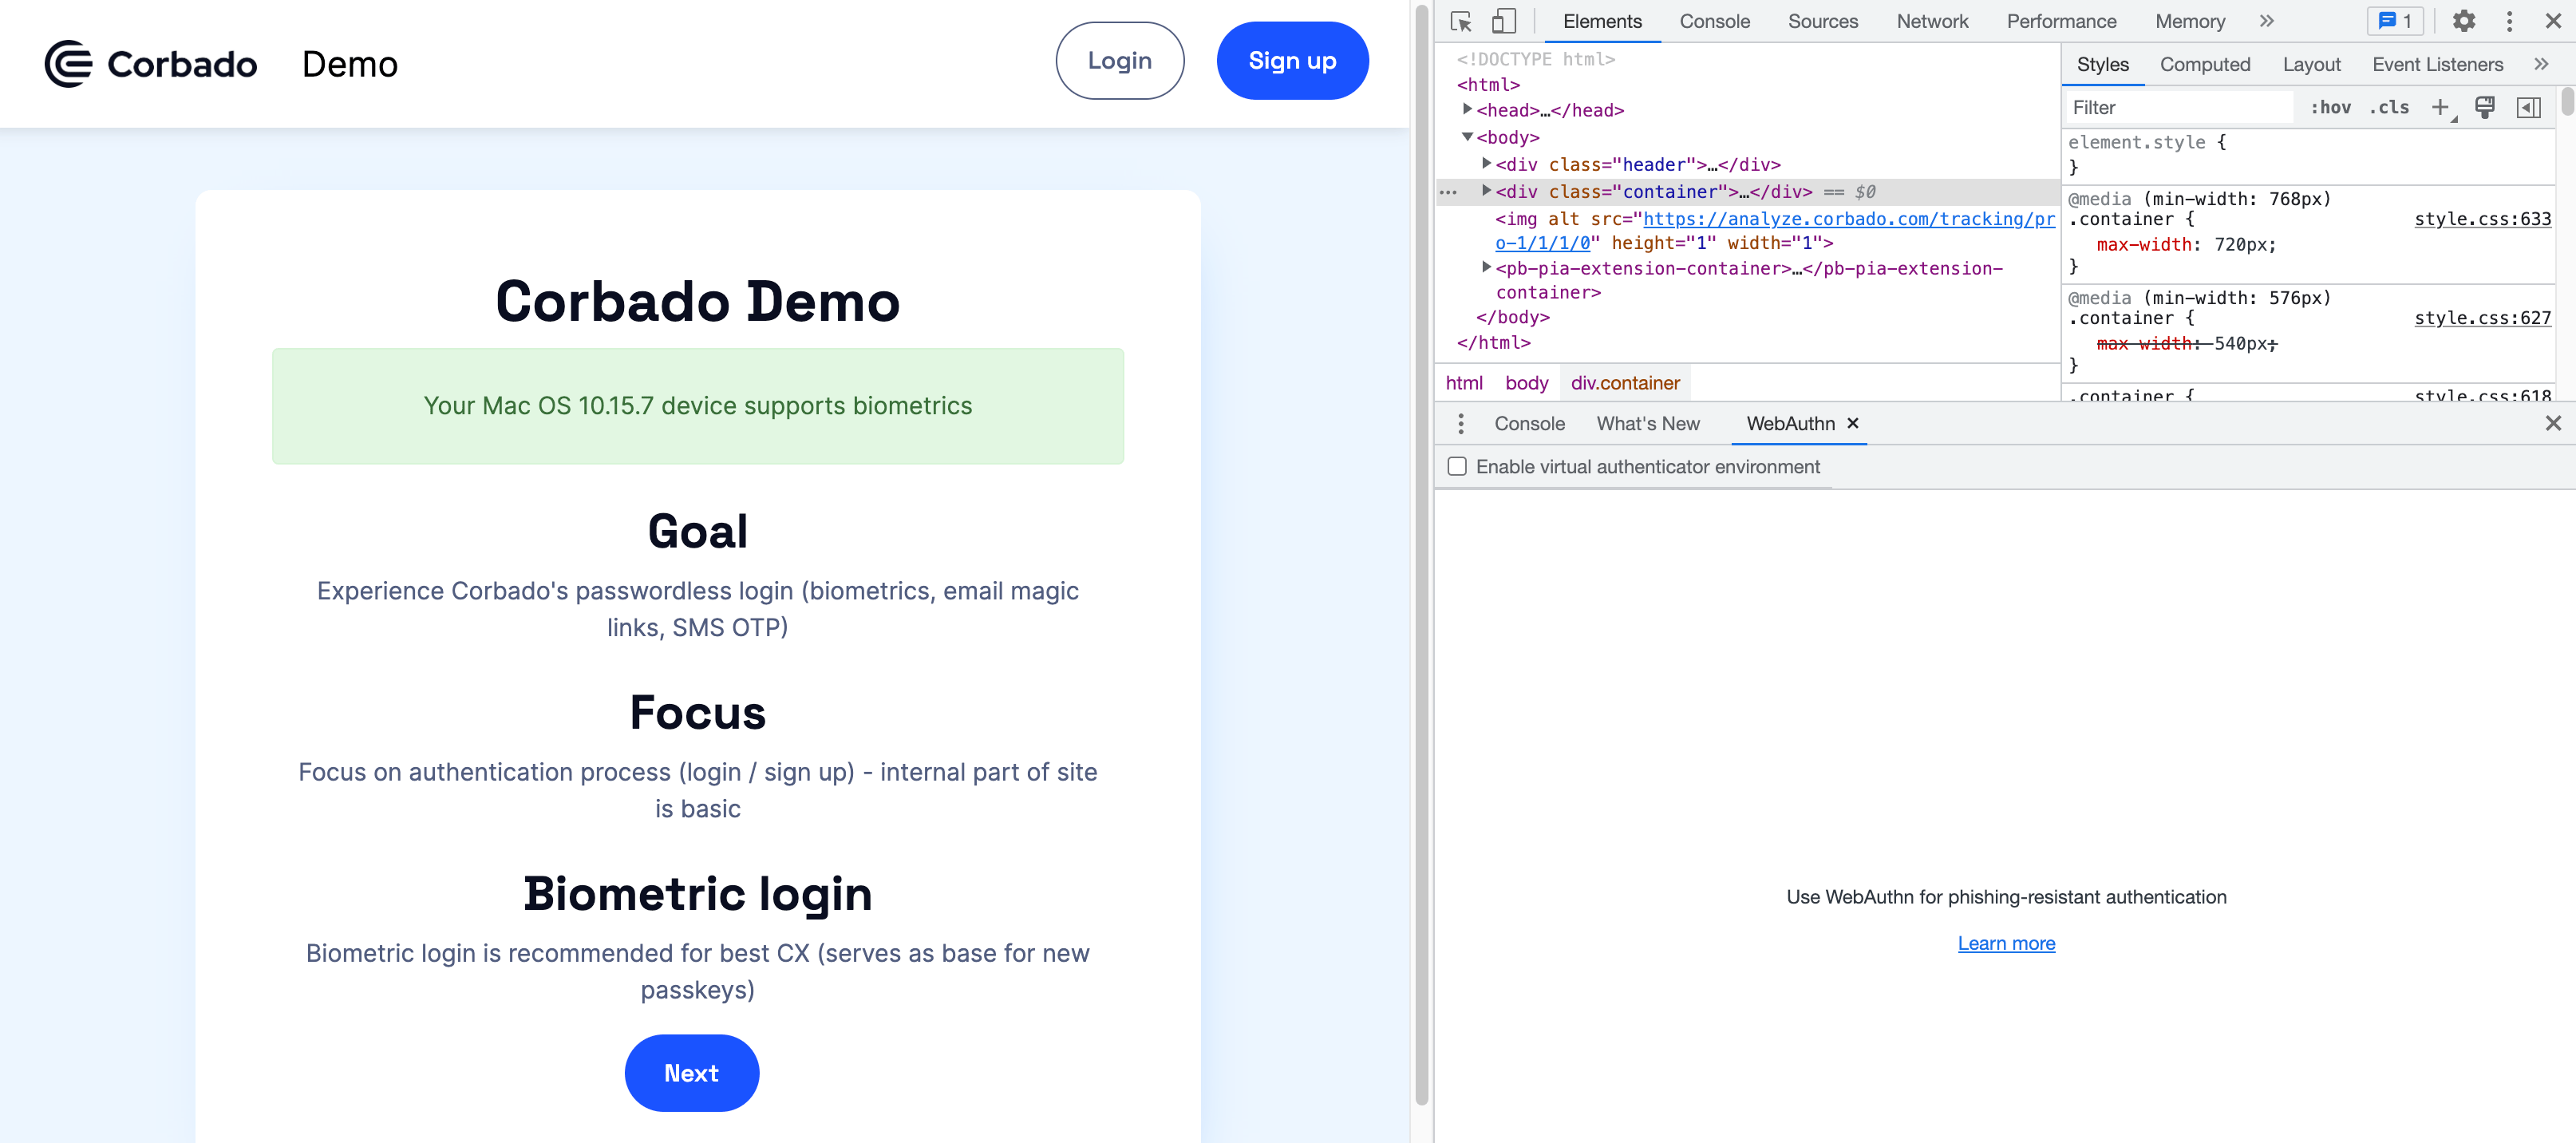
- Visit the Corbado Demo Page with the Google Chrome browser
- Open the Google Chrome DevTool by right clicking anywhere on the webpage and click on ‘inspect’
- Click More Options > More tools > WebAuthn to open the WebAuthn tab
Enable the virtual authenticator environment
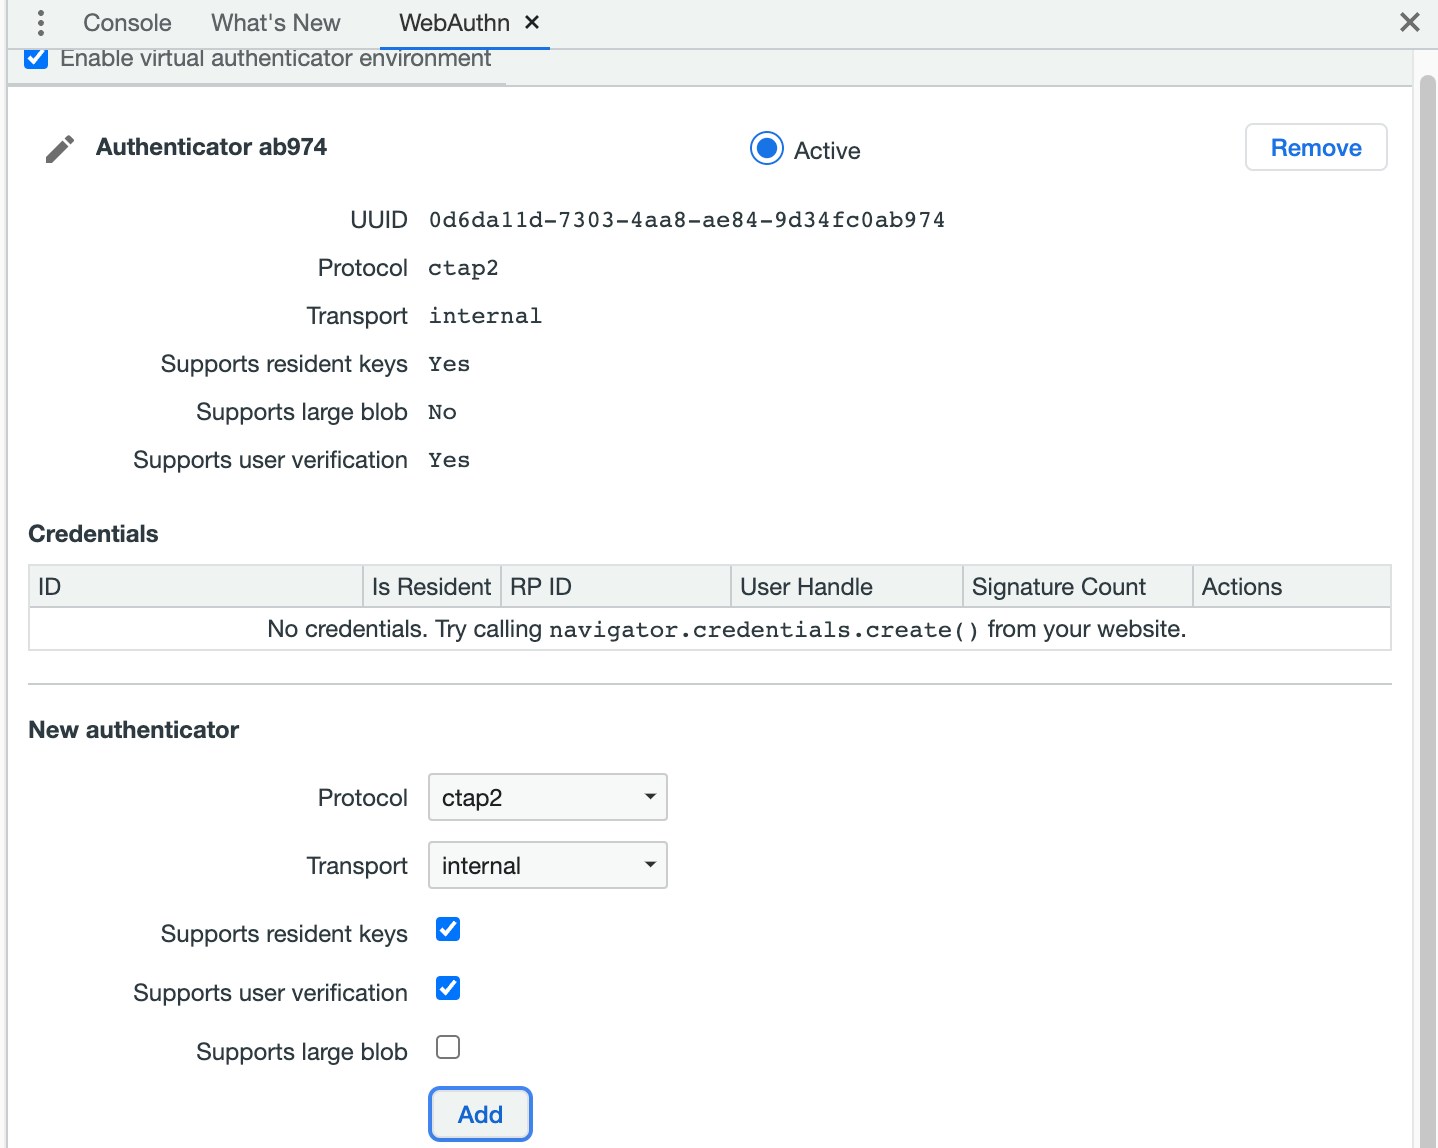
- On the WebAuthn tab, click the checkbox to enable virtual authenticator environment
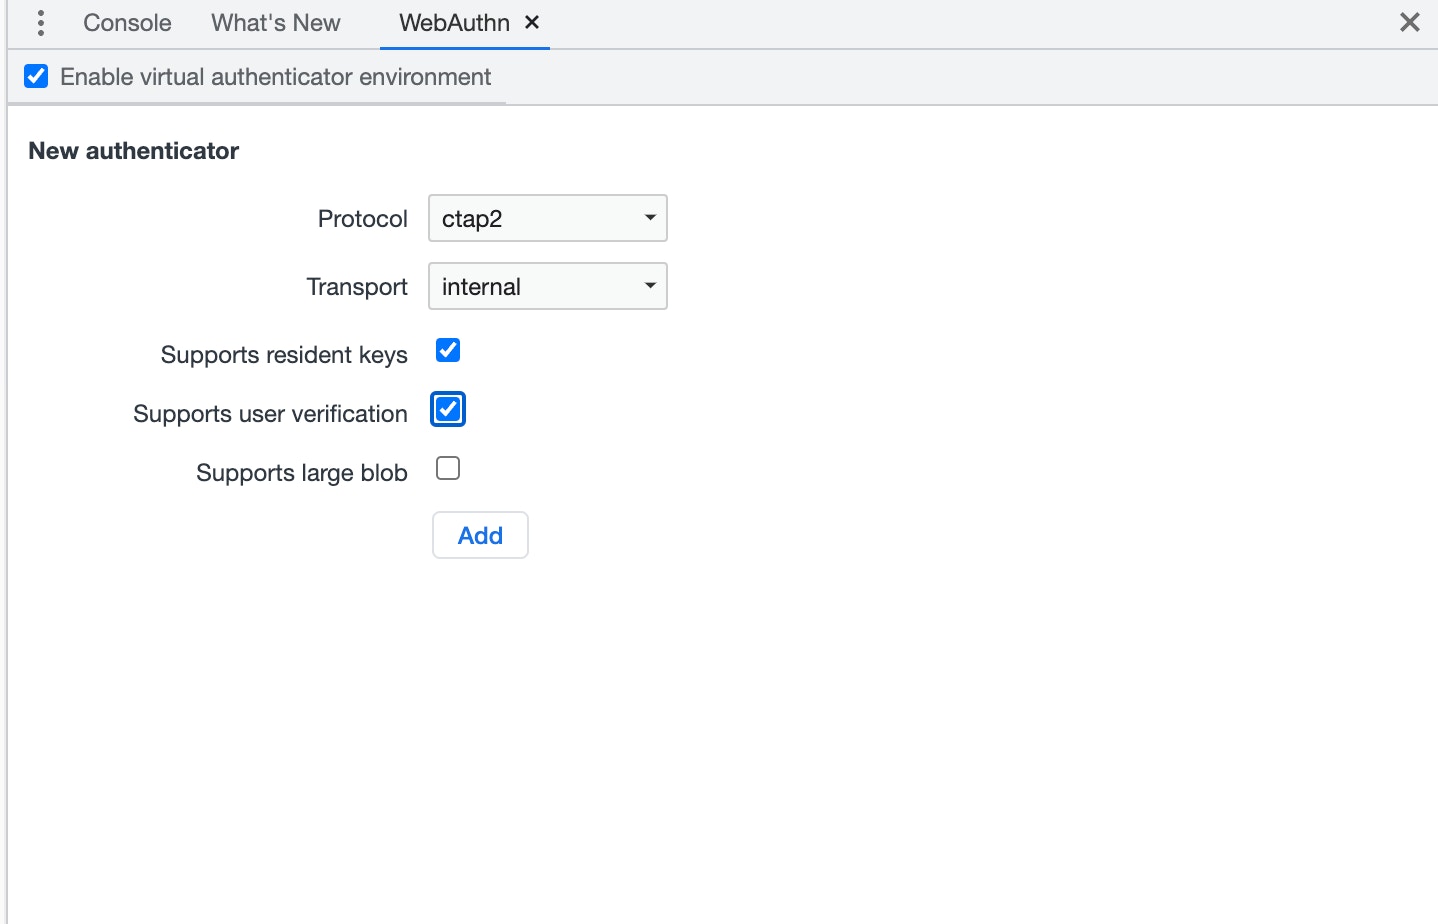
- Once enabled, the New authenticator section appears
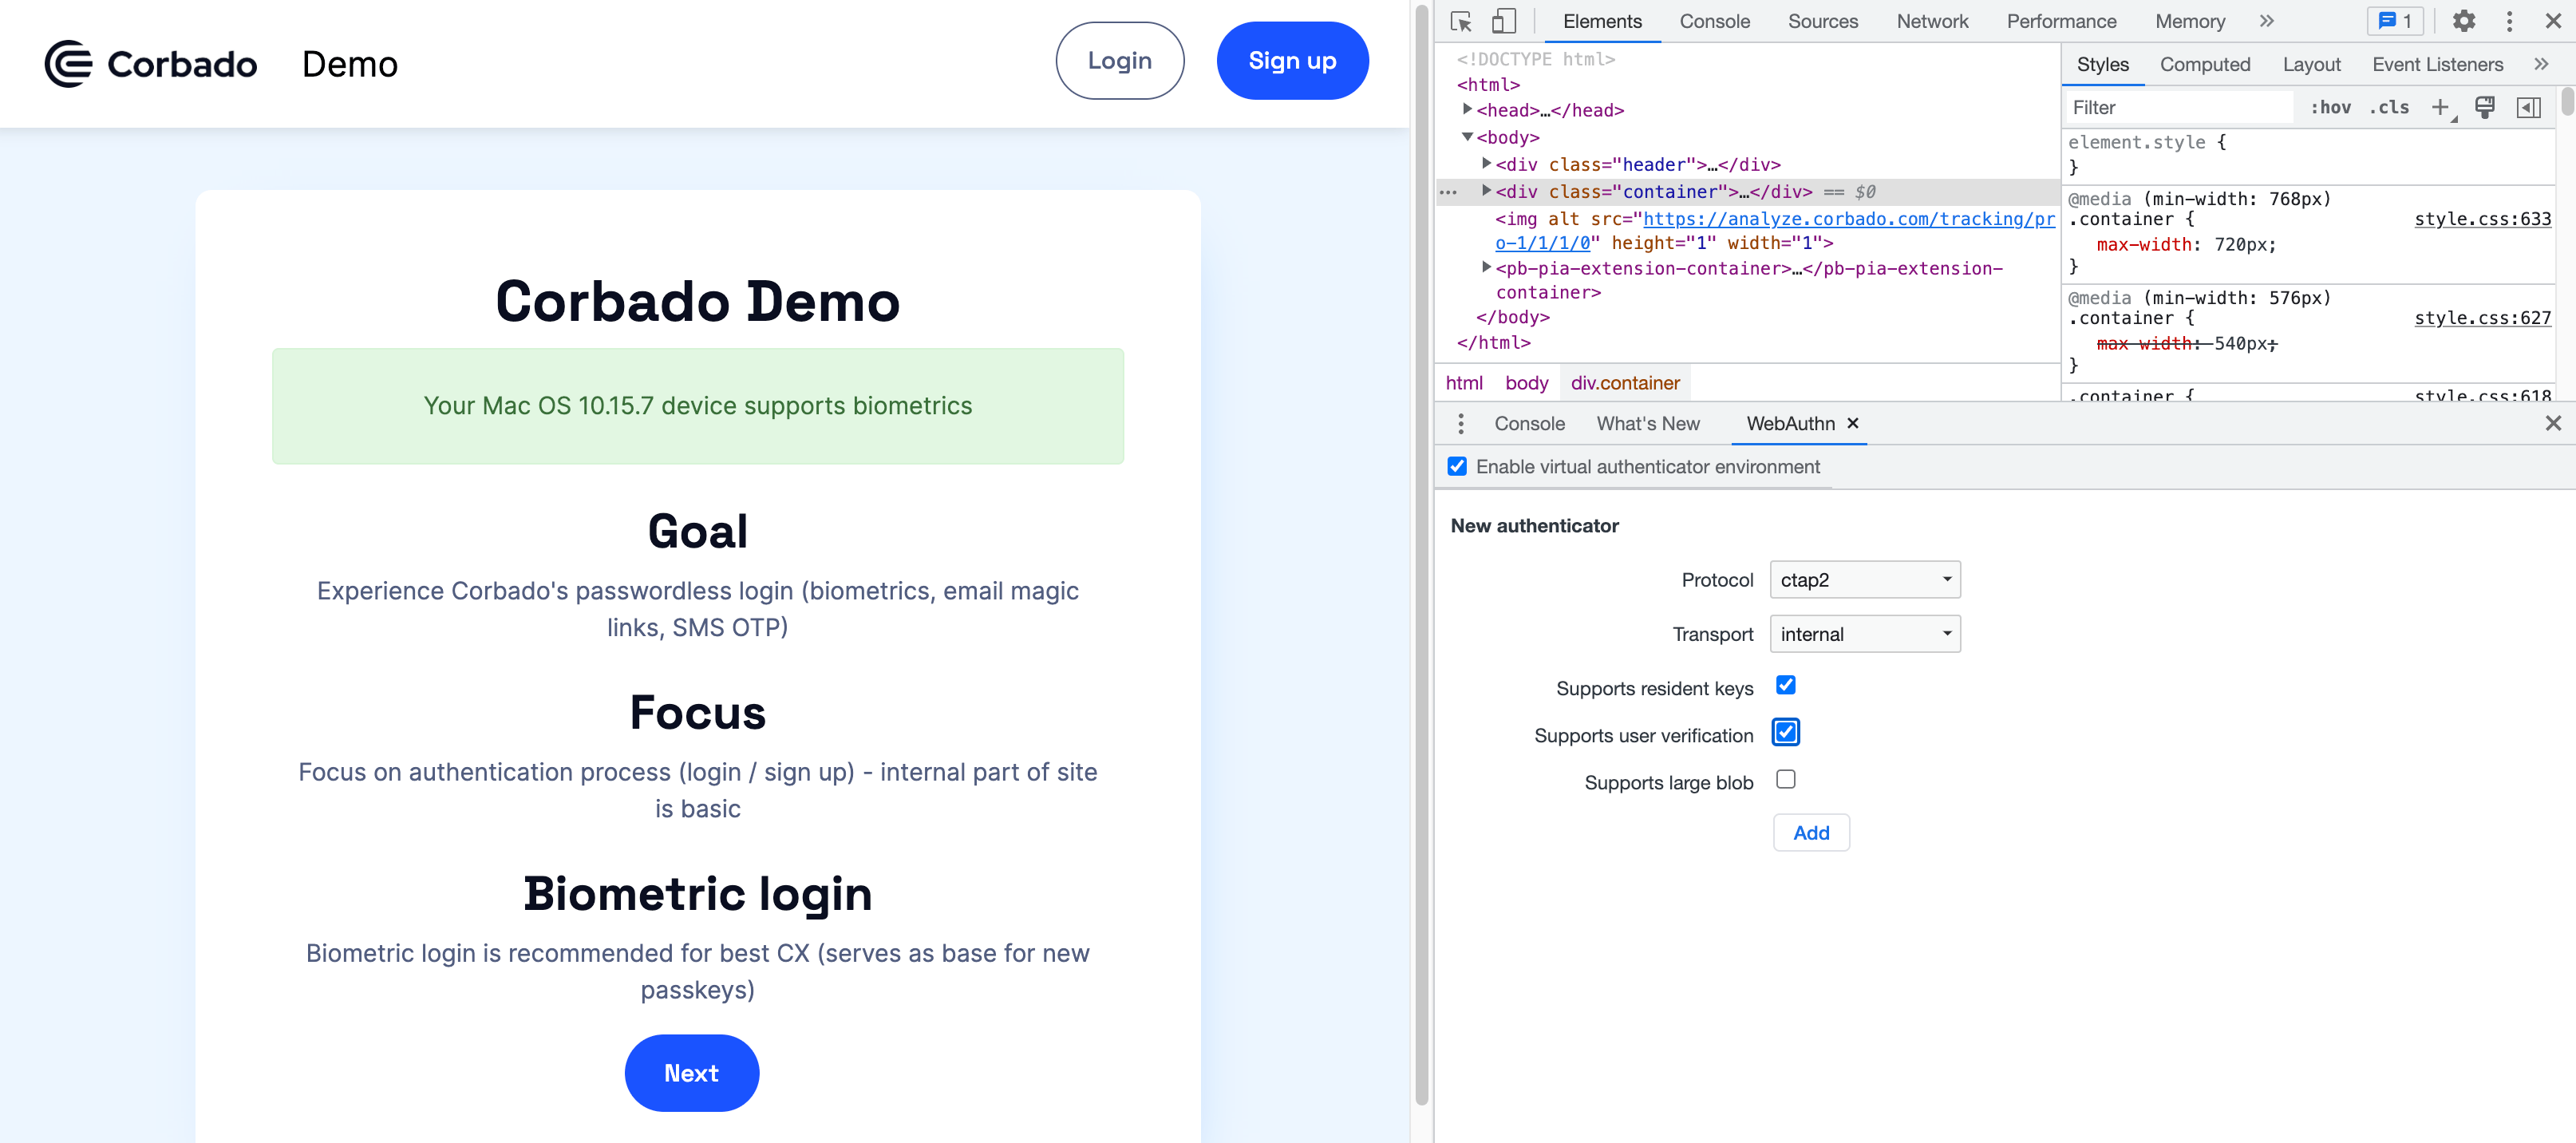
Add a virtual authenticator
- In the New Authenticator section, configure the following options:
- Protocol: ctap2 (Client to Authenticator Protocol) or u2f (Universal 2nd factor)
- Transport: usb, nfc, ble (bluetooth low energy) or internal (platform authenticator)
- Support resident keys (client-side discoverable credentials)
- Support user verification (the technical process by which an authenticator locally authorizes the invocation of the authenticatorMakeCredential and authenticatorGetAssertion operations)
- Supports large blob (available only for ctap2 protocol)
- Click the Add button
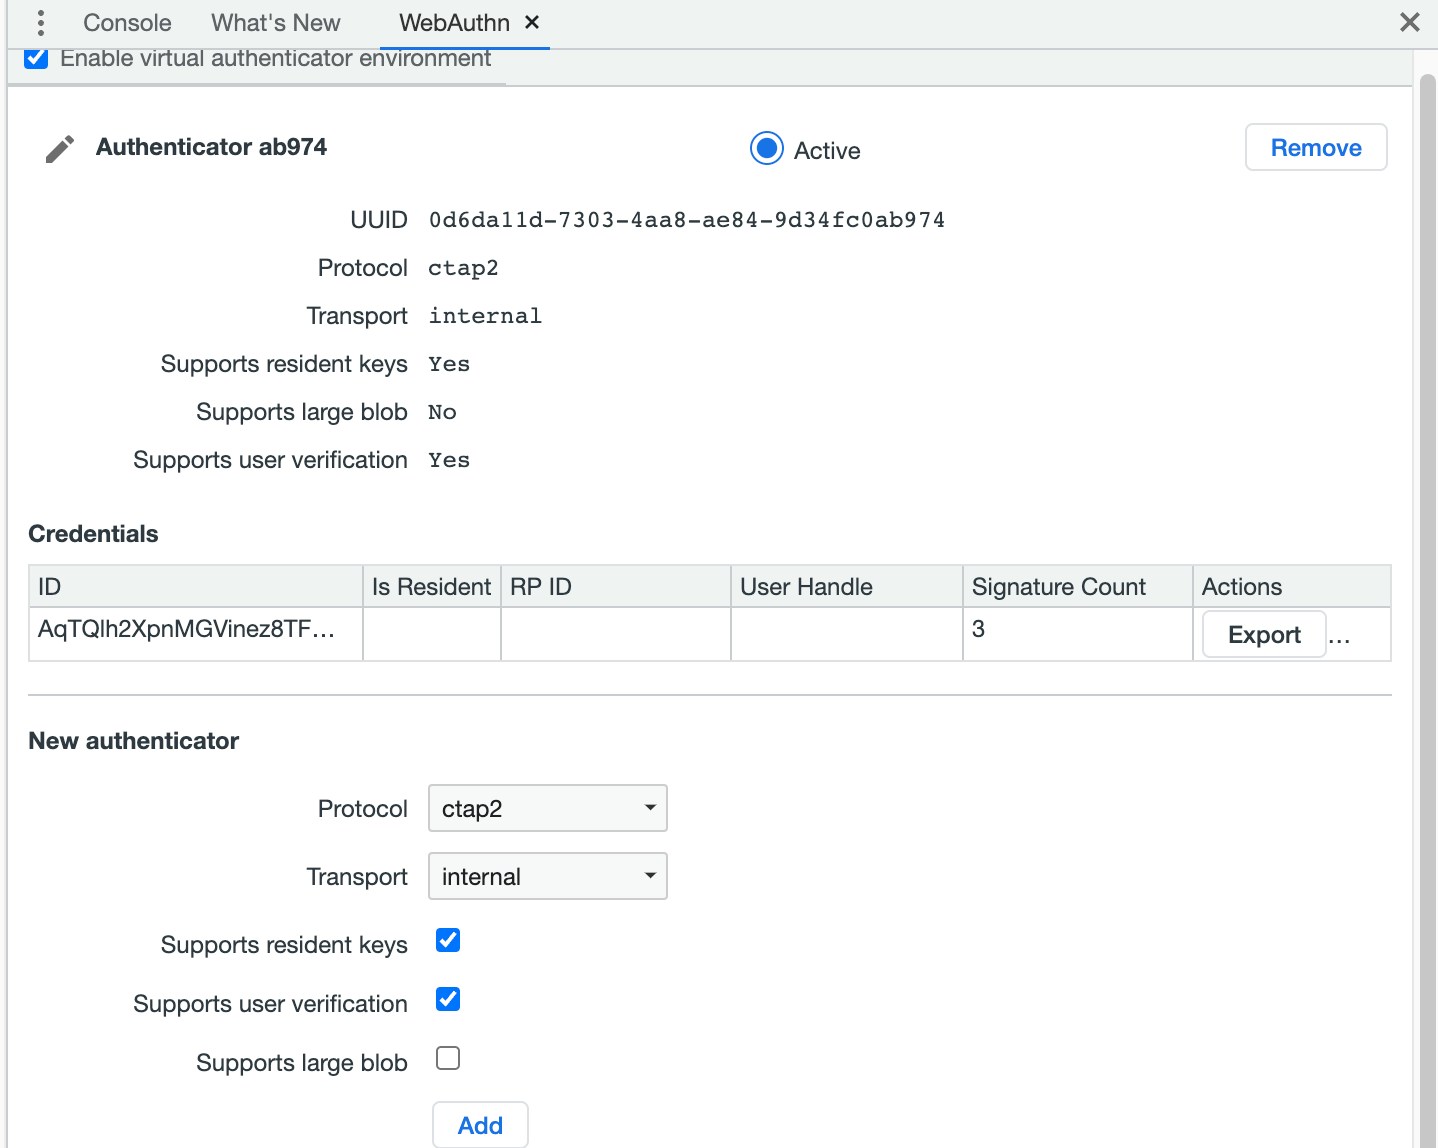
- You can see a section with your newly-created authenticator
Register a new credential
To register a new credential, go to the Corbado Demo- On the demo page, provide your email address and click Sign up
- A new credential is now added to the credentials table in the WebAuthn tab