Before we can begin to render the Corbado Authentication UI, the Corbado.load() call has to resolve. Find more here.

Integration

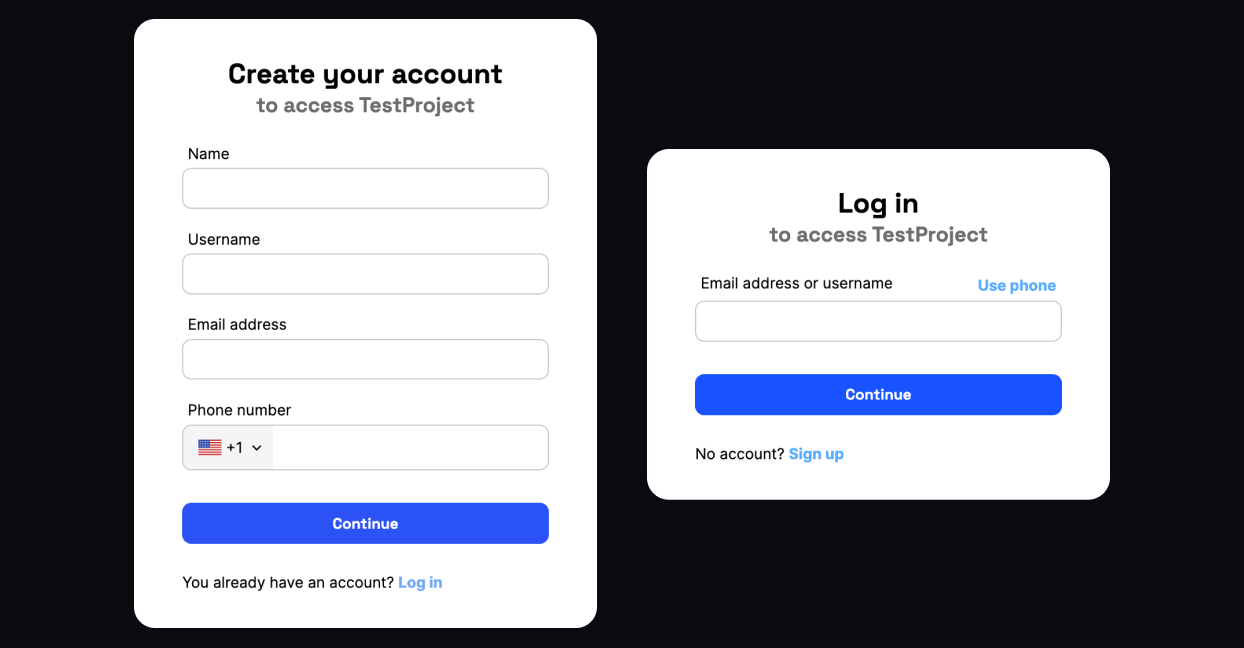
The Authentication UI allows the user to log in or register with Corbado. The UI is rendered by using the Corbado.mountAuthUI method. Once the user is logged in, the onLoggedIn callback is executed.

app.component.ts
import {Component, ElementRef, OnInit, ViewChild} from '@angular/core';
import Corbado from '@corbado/web-js';
import {Router, RouterOutlet} from "@angular/router";

@Component({
    selector: 'app-root',
    standalone: true,
    imports: [RouterOutlet],
    templateUrl: './app.component.html',
    styleUrl: './app.component.css'
})
export class AppComponent implements OnInit {
    @ViewChild('corbadoAuth', {static: true}) authElement!: ElementRef;

    constructor(private router: Router) {
    }

    async ngOnInit() {
        // Load and initialize Corbado SDK when the component mounts
        await Corbado.load({
            projectId: "pro-XXX",
            darkMode: 'off',
        });
        // mount Corbado auth UI for the user to sign in or sign up
        Corbado.mountAuthUI(this.authElement.nativeElement, {
            onLoggedIn: () => {
                console.log('User logged in');
                // Redirect to the profile page after the user logs in
                this.router.navigate(['/profile'])
            },
        })
    }
}

Simply provide an empty div in your template to render the Authentication UI.

app.component.html
<div #corbadoAuth id="corbado-auth"></div>

Customize Styling and Translations

Corbado UI Components can be customized to match your application’s design and language preferences. You can adjust the styling and translations of the components to create a seamless user experience:

Next

Let your users manage their passkeys with the PasskeyList.