Before we can begin to render the Corbado PasskeyList, the Corbado.load() call has to resolve. Find more here.

Integration

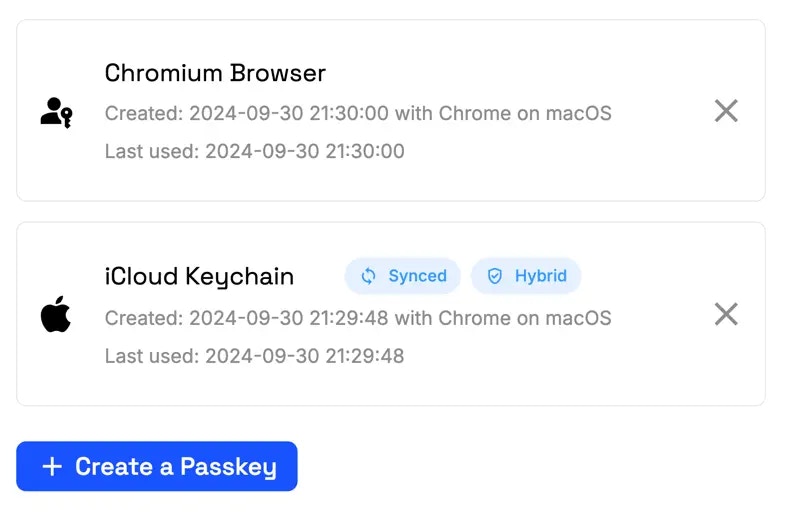
The Passkeylist allows the user to view and manage their passkeys. He can delete existing passkeys or create new ones. This can be useful if the user wants to have individual passkeys for multiple devices, or erase ones that are no longer needed.

app.component.ts
import {Component, ElementRef, OnInit, ViewChild} from '@angular/core';
import Corbado from '@corbado/web-js';
import {RouterOutlet} from "@angular/router";

@Component({
    selector: 'app-root',
    standalone: true,
    imports: [RouterOutlet],
    templateUrl: './app.component.html',
    styleUrl: './app.component.css'
})
export class AppComponent implements OnInit {
    @ViewChild('passkeylist', {static: true}) authElement!: ElementRef;

    constructor() {
    }

    async ngOnInit() {
        // Load and initialize Corbado SDK when the component mounts
        await Corbado.load({
            projectId: "pro-XXX",
            darkMode: 'off',
        });
        Corbado.mountPasskeyListUI(this.authElement.nativeElement)
    }
}

Simply provide an empty div in your template to render the PasskeyList UI.

app.component.html
<div #passkeylist id="passkeylist"></div>

Customize Styling and Translations

Corbado UI Components can be customized to match your application’s design and language preferences. You can adjust the styling and translations of the components to create a seamless user experience:

Next

Access user information through the Corbado object.